
by Matt Gerchow
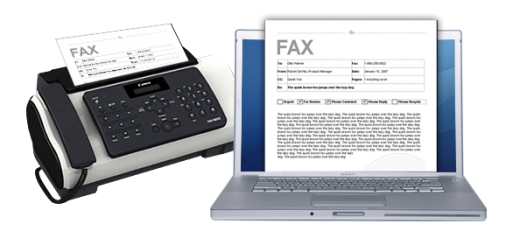
Looking to Gmail fax? This website gives you a quick tutorial on setting up your Gmail account to send and receive faxes.
First, you’ll need a few things. A Gmail Account and an Online Fax Number.
Steps to Set Up Gmail Fax
Step 1 – Grab yourself a gmail account.
Step 2 – Choose a Web-Based Fax Company for your account. This company will handle your outgoing and incoming faxes for you online.
RingCentral lets you fax free for 30 days in their current promotion.

Step 3 – Compose Email. Log into your Gmail just as you normally would and click on the Compose Email tab.
Step 4 – Enter the Fax Number. Where you would normally enter an email address, instead type the destination fax number. No spaces or dashes, just numbers, and behind that, the fax company extension, like this…
Step 5 – Add Your Message. Your subject line functions as the message for the cover sheet of your fax. Type whatever cover page message you want in there. Then in the body of the email, type your fax and then attach any document(s) (scan, photo, pdf, word doc and more) that you want to fax.
Step 6 – Click Send. Yes, that’s really it.
You just sent your first Gmail fax!
You might have heard there are free fax services out there. But you really do get what you pay for. Don’t let people put ads on your faxes. Don’t risk your reputation or your data by permitting anything less than the very best in your business.
When a truly free service appears, you will hear about it here.
Test Drive RingCentral and Fax Free for 30 Days!
by Matt Gerchow

Recent Comments